 |
| Oh no! |
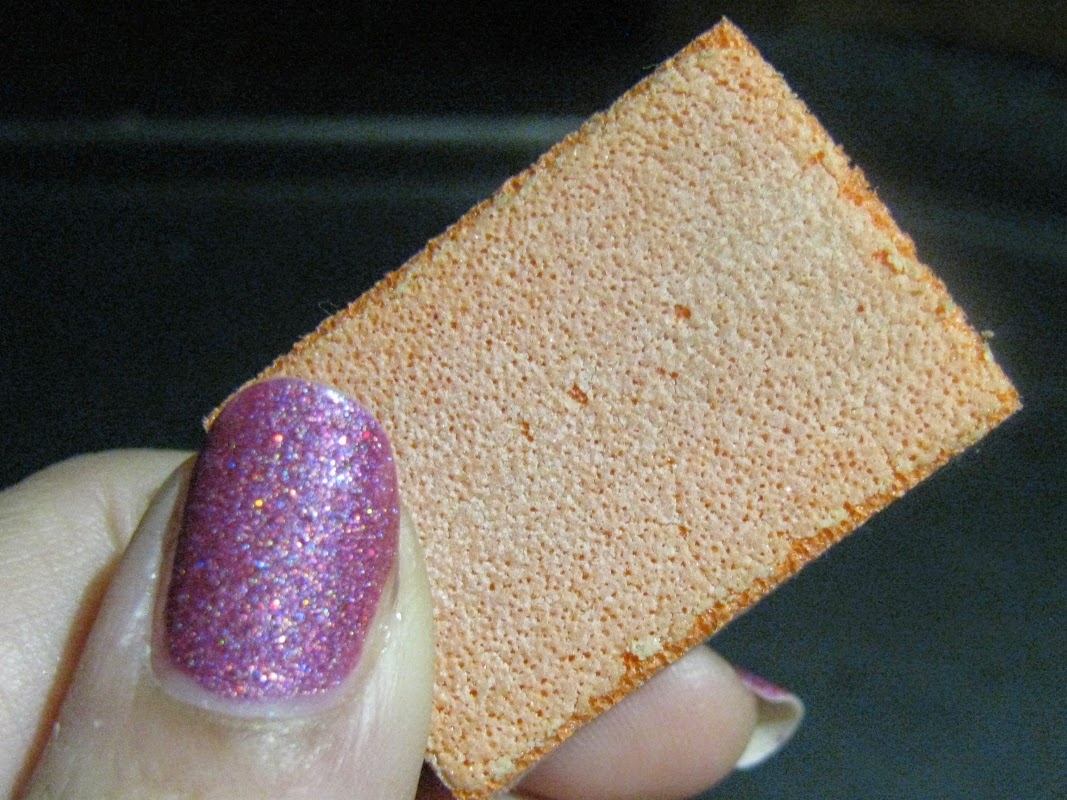
I started off with a gentle buff to smooth everything down. I used an old, worn down mini buffing block-it looks pretty ugly, but it's great for this because you have to absolutely baby the break to keep it from ripping off, plus you want to do as little damage to the nail plate as possible while the nail is growing out.
Then I chopped up my tea bag. You want a piece longer than the nail, but about the same width. The tea bag is a basic cheap-o paper tea bag with the leaves poured out. Both sides are cut, but only because I've used multiple pieces-you only want one "ply."


After that, I let it get mostly dry again, then gently filed the rest of the paper off with my glass file and gave it one more gentle buff before topping with my final layer of base coat.

 |
| Where's the break? I dunno! |
Then it was ready for my polish-Black Dahlia Lacquer Vibrant Poinsettias. Isn't it gorgeous? And the formula is fabulous-no cleanup required on this hand. The sparkly glitter finish and a copious dose of topcoat helped gloss over any remaining imperfections, being sure to wrap the tip of the nail to seal off the edge of the break.

So does it work? My verdict is yes! I think part of the reason I had trouble with it before is because I am not patient. Notice all of that "let it dry" in this post? Yeah, I'm not so good at that. The multiple layers of basecoat made my nail more susceptible to polish wrinkles, and keeping it smooth keeps the patch strong, so patience is a must. Do this on a Netflix night, because you're going to need to hold still for a while, even with a quick drying topcoat. These patches come off with regular polish remover, just be sure to wipe gently in the direction of the break (my break is sideways, so I remove polish side to side instead of my normal base to tip). I've been pretty gentle with it, but while wearing these patches over the past couple of days, I haven't noticed a difference in strength from my other nails. This is easy, used items I already have, and works well. Time will tell if I can keep it up until my nail is back to a decent length, but if you have a break you don't want to cut off and don't want to use falsies, this is worth a try.
No comments:
Post a Comment